Tips For Painting Your Car Yourself
Maybe it’s just a small detail, or maybe you’re looking to get a completely new color, but odds are that getting a paint job done by yourself will save you a lot of time.
The issue is that painting your car won’t be as easy as just spraying some paint and calling it a day, you need to do some prep work, and take care every step of the way. Here are some important pointers to have you ready for your new fresh coat of paint.
Supplies
First off, you’ll need to get a lot of sandpaper, 1200 and 2000 grit, an electric or air powered sander, a buffer, a clear-coat lacquer, topcoat acrylic or enamel paint, an undercoat, safety glasses, face masks, paint thinners, a spray gun (you can find paint sprayer reviews here), an air compressor, masking tape, and some newspaper. A dust extractor is not necessary but will help clean the area.
The amount of paint or primer you’ll get depends largely on the size of your car. If you have a large car you’ll need around 3-4 gallons of clear-coat lacquer, 4 gallons of topcoat, and 1 and a half gallons of base coat. For a medium sized car (or a small one) you’ll need 2-3 gallons of clear coat, 3 gallons of topcoat, and 1 gallon of base coat primer.
There is one thing we haven’t listed, which is probably the most important thing. You’ll need a lot of time to paint your car. Set up some days, or maybe even a couple of weekends aside. We also recommend doing it in a dry, clean, temperature-controlled environment.
Getting Ready
You need to clean the area where you’ll be working, no matter if it’s inside our outside. Make sure to wash down the car as well.
You should also decide whether you’ll paint details, like the trunk, inner doorsills and the engine bay. This will change how much you have to stip down and remove. If you’re not going to do any extra work, just mask those areas you don’t want to paint.
Stripping
Use circular motions to sand. Ideally, you’ll sand the car back to metal and get a smooth finish. At the very least, you need to get a smooth surface at the end, you’ll have to finish with fine-grade sandpaper. Don’t forget to remove dust and residue.
Priming
Mask the areas you won’t be cleaning. Mix the primer with the thinners, you can find the recommended ratios on the can, it will change depending on the kind of paint you’ve bought.
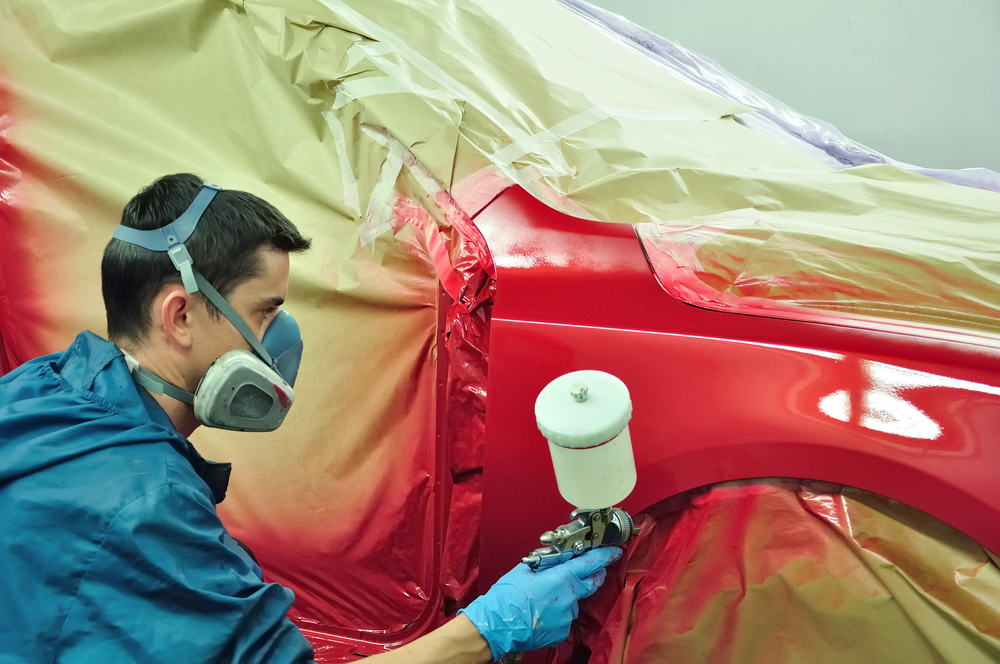
If it’s your first time painting, you should practice a bit. Look for a used car panel, any piece of scrap steel will also work. Just begin practicing the motion, standing 6 inches away from the panel. Remember to only hold the trigger when you’re moving, if you hold it in the same place too much you’ll cause runs.
Work from the roof down when you’re applying the primer. Use even coats to cover the surface completely. Dry time will vary depending on the primer you use, but it’s usually around 20-60 minutes.
After you’re done you’ll need to clean up a bit, you’ll have to use some sandpaper to get a smooth finish on the surface. Clean up your spray gun, and use a rag with a bit of thinner.
Paint
Again, mix the paint with the thinners at the recommended ratios. You’ll be using the same spraying technique, so don’t worry about practicing again. You should apply around 3-4 coats, waiting between each coat. Before the last coat, you should remove powdery residue with sandpaper, and clean it out. Do these steps again with a clear-coat lacquer.
At this point you just have to wait for the paint to dry, removing any masking tape placed around. Go over the finished job and make sure there aren’t any important imperfections that you need to take care of.